Changing RPC guide
By changing default RPC to a custom we are aiming for privacy. That does not mean that any custom RPC will suffice. The RPC used must be TRUSTED.
Metamask
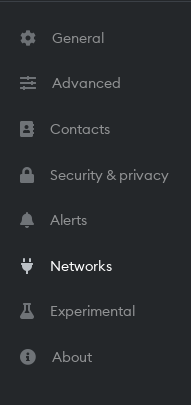
1. Go to Networks
- Go to Setting in Metamask and select NETWORKS to add a custom RPC.

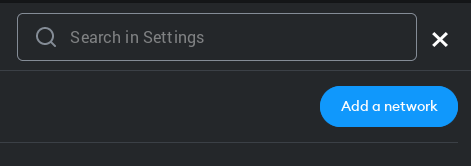
2. Add a network
- Click on ADD A NETWORK

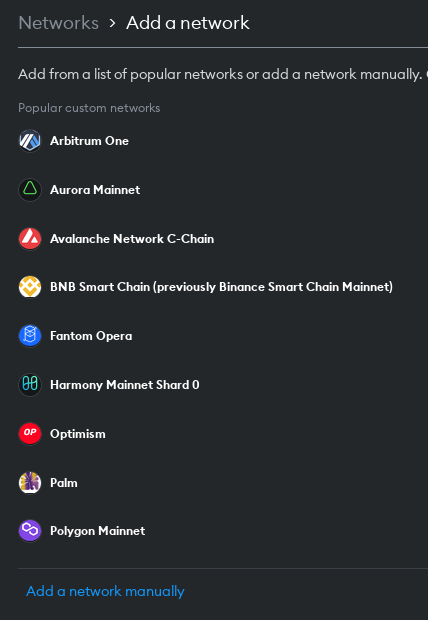
3. Add a network manually
- Select ADD A NETWORK MANUALLY

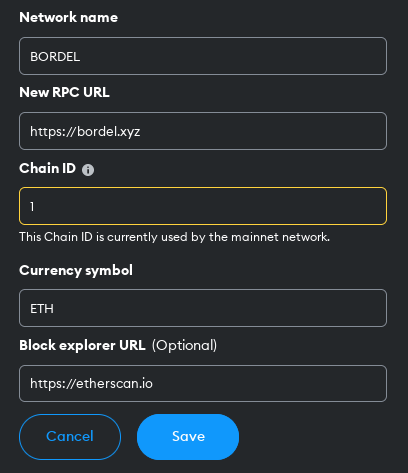
4. Add information for custom RPC
The custom RPC (for Etherum in this guide, can be any other network) is mostly using the same information as Etherum mainnet. Because we want to change the RPC for Etherum; Chain ID, Currency symbol and Block explorer URL remain the same.
- Change NETWORK NAME (which can be any name and is visible to the user on their own account).
- Enter NEW RPC URL. This need to be a TRUSTED endpoint.
Paralelní Polis is offering the community to use their endpoint https://bordel.xyz. - SAVE

5. Choose your custom RPC
Select your custom RPC in the upper right corner. It will show a question mark, but this nothing to be worried about. It is how any network you add will appear in Metamask.

More information about RPC in Anonymizing assets.
